How To Clean a Keurig — Get the Most out of Your Coffee Maker
No doubt, you appreciate how quickly your Keurig can brew a hot cup of joe in the mornings. But do you know how to clean a Keurig to show your appreciation for its hard work?
Keurig has become almost synonymous with single-cup coffee brewing, plus it can also be used for hot chocolate, tea, or even iced coffee. There’s no guesswork involved, just make sure there’s water in its reservoir tank, add a K-cup, and you’ll be drinking that hot goodness in just a few minutes.
Over time, though, residue and debris can build up within the machine. This can slow down your Keurig, sometimes to the point of not being able to brew a cup of joe at all. Hence, it requires occasional TLC to clear out any gunk and keep it running smoothly.
So how do you clean a Keurig, and how do you descale a Keurig? There’s no need to worry if you’ve never done it before. I want to prove to you how simple this process really is, and it doesn’t even require any special tools.
Why Regular Cleaning Matters
Just like any other kitchen appliance, a Keurig requires a little bit of care and maintenance occasionally. In fact, considering you’re drinking the liquid that comes from this coffee maker, it should probably take priority over some other kitchen gadgets.
Cleaning your Keurig regularly ensures that the machine continues to operate properly, and it will extend your coffee maker’s life. That’s pretty important, since no one wants to face the consequences of not having that cup of joe each morning.
If you don’t, mold and minerals can build up on its parts. Not only will your coffee maker not perform to its best ability, but that mold can make you sick.
There are also a few signs that it’s time to clean that coffee maker, even if it hasn’t been that long. Set aside time for cleaning if you spot any of these:
- It’s taking too long to brew a cup. Including heating time, it should only take 2-3 minutes to brew your beverage.
- A cup is only half-full after brewing. There’s a reason the rest of that water isn’t coming out.
- Beverages taste or smell weird. Take note if your java stops tasting good.
- Mineral buildup can be seen on your machine. The most obvious location for this is the reservoir tank, but there may be evidence where the tank meets the machine, too.
How Often Should You Clean Your Keurig?
Keurig recommends descaling your coffee maker every 3-6 months with their proprietary descaling solution. Alternatively, you can use a combination of vinegar and water. Of course, this is dependent on how often you use your coffee maker. If you’re using it to make coffee daily, choose the shorter interval to descale it.
As a guide, you should:
- Wipe down the exterior of your coffee maker, its pod holder, and the drip tray — at least once a week.
- Wash the water reservoir with warm soapy water — weekly.
- Clean needles — as required.

What You’ll Need for This Tutorial
Now that you’re learning how to clean and how to descale a Keurig, you’ll need to collect your supplies. It’s easier if you have everything within arm’s reach, it will save you stopping and starting repeatedly when you have to find something. And, this is a general tutorial, thus, at times you may wish to consult your owner’s manual for your specific model.
- Warm, soapy water.
- Soft washcloth.
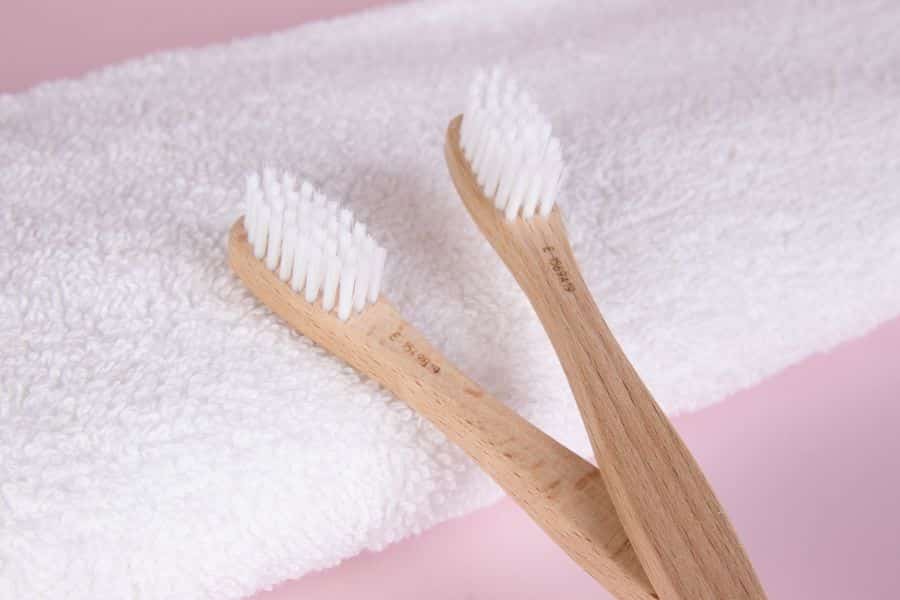
- Small brush (a toothbrush works just fine).
- White vinegar.
- Keurig descaling solution.
- Bottled or filtered water.
- Paperclip (that’s been straightened).
How to Clean A Keurig Coffee Maker: Step by Step Instructions
What is the best way to clean a Keurig? Cleaning it is a pretty straightforward process. However, you need to set aside some time for it, because it’s not necessarily a quick process.
Step 1: Gather all previously mentioned supplies.
Step 2: Unplug the Keurig.
Step 3: Empty any water that’s in the reservoir.
Step 4: Wash any removable parts with warm soapy water. If your Keurig has a detachable milk steamer, you can also wash that with soapy water.
Step 5: Wipe all visible parts of the Keurig with a damp, soft cloth.
Step 6: Dip a small brush in white vinegar and use that to clean areas where the reservoir tank connects to the machine. You can also use a brush to scrub the inside of the pod holder, where a K-cup is inserted.
Step 7: If you use reusable filters, wash those with soapy water and rinse thoroughly.
Step 8: Let all parts of the Keurig dry completely, then reassemble your coffee maker.
Step 9: If using Keurig’s descaling solution, follow those instructions. If not, continue following our instructions for how to clean a Keurig coffee maker with vinegar.
Step 10: Pour 2 cups of white vinegar into the reservoir tank, followed by 2 cups of water. If your reservoir tank is too small for that amount, use a 1:1 ratio of vinegar and water.

Step 11: Run your Keurig through the brewing cycle without a filter or pod at least twice, until the liquid in the cup comes out clear.
Step 12: Remove the reservoir tank, empty it, then wash it again with soapy water. Rinse and dry.
Step 13: Fill the reservoir with plain water and run it through the brewing cycle, again skipping the filter or pod.
At this point, if the entry or exit needles for the pod holder don’t need to be cleaned, your Keurig is ready for use. However, if you want to clean the needles on the machine, keep following these directions. If those needles are difficult to locate, refer to your instruction manual.
How to Clean Keurig Needles
Step 14: Remove the pod holder from the Keurig. It can usually be pulled directly out. If you need a visual explanation, Keurig has a video that explains the process.
Step 15: Take the funnel out of the pod holder and locate the entry tube that houses an exit needle.
Step 16: Insert a paperclip into the tube and wiggle it around for about 20 seconds to dislodge any debris inside. You won’t be able to go all the way through because of its design.
Step 17: Rinse the pod holder and funnel with water, then wipe with a damp cloth. Set them aside to dry.
Step 18: Find the entrance needle, located under the brew head.
Step 19: Follow the same directions as with the exit needle (step 16), use a paperclip to remove any particles.
Step 20: When the funnel and pod holder are dry, put them back together and replace them in the Keurig.
Step 21: Add plain water to the reservoir tank and run two brewing cycles with water only, no filter or pod.
At this point, your Keurig should be all ready for brewing coffee again. If you need more specific instructions on how to use Keurig descaling solutions, refer to the Keurig website. It lists directions for specific models and even includes a video.
Tips for Maintenance
A few minutes of regular maintenance here and there will save you the horror of not being able to make coffee with your Keurig. I also have some quick tips that will make the whole process even easier.
- Use bottled or filtered water — tap or spring water may contain minerals that can build up inside a coffee maker. That will make descaling for Keurig machines necessary more often.
- If you use a Keurig to make cocoa, tea, or soup, run another cup of water through the machine after brewing. This will remove any grit or sugar that may have collected during brewing.
- Not using that coffee machine while you’re on vacation? Empty its water reservoir and unplug the machine. Mold can form when water is left in a reservoir for an extended time.
- Is there a stubborn clog in your Keurig’s water line? Use a straw to blow air through the water line and dislodge any particles.
- For in-between cleans, Keurig offers rinse pods that can help remove some of the flavors and smells left from brewing coffee.

Recapping
A Keurig only takes a few minutes and very little effort to produce hot java. It’s easy to forget that the coffee maker itself needs a bit of TLC every now and then. By learning how to clean Keurig machines, you’ll keep your machine in good working condition and never miss out on a cup of joe.
As I’ve shown you, it’s surprisingly easy to clean a Keurig, with minimal effort, but you will have to set aside a small chunk of time for doing it. It’s likely you already have everything needed for the task. You can even purchase Keurig descaling solutions if you’d prefer to use that instead of the white vinegar in your own kitchen.
Simply wiping down the machine and regularly washing its reservoir tank with soapy water is enough to handle cleaning matters weekly. Descaling is a longer process, and that’s recommended every 3-6 months.
Show your coffee maker how much you appreciate it by learning how to clean a Keurig.
How to Clean a Keurig FAQs
Can I Use Vinegar to Descale a Keurig?
Yes, you can. We recommend diluting it with water before running it through the machine with a brew cycle. This can remove mineral buildup inside your machine.
Do Keurigs Need to Be Cleaned?
Yes, Keurigs need to be cleaned regularly. At least weekly, you should wipe down your coffee maker with a damp washcloth. You should also clean the drip tray and reservoir tank with soapy water on a weekly basis. Your Keurig should be descaled every 3-6 months.
Can You Run Soapy Water through a Keurig?
It’s not recommended to run soapy water through a Keurig coffee maker. A vinegar or descaling solution is much more effective at cleaning the inner workings of your coffee maker. Soapy water should only be used on any removable parts of the machine.
What Happens if You Don’t Clean Your Keurig?
Keurigs may develop a number of problems if you don’t clean them. It can take longer to brew coffee, or your coffee may taste or smell weird. Bacteria and mold can also build up inside a coffee maker if it’s not cleaned regularly.
Is Descaling Solution Better than Vinegar?
The benefit of using Keurig’s descaling solution is that it’s designed to be tailored to your specific Keurig model. However, a solution of vinegar and water can also accomplish the same thing with a lower price tag.
Do You Have to Clean a Keurig after Every Use?
It’s a good idea to take a couple of minutes and at least use a damp washcloth to wipe down your Keurig machine after use. About once each week, clean the drip tray and reservoir tank with soapy water. More in-depth cleaning should be done every few months.
Should You Leave Water in Your Keurig?
No, you should not leave water in your Keurig for more than about 12 hours. Over time, mold can develop in that water and will find its way into your coffee, and no one wants that!


